Hi all, I just started playing around with splash mapper super excited. I am currently getting my MFA in digital art and started daily using linux daily a bit over a year ago now. I had a question about this program.
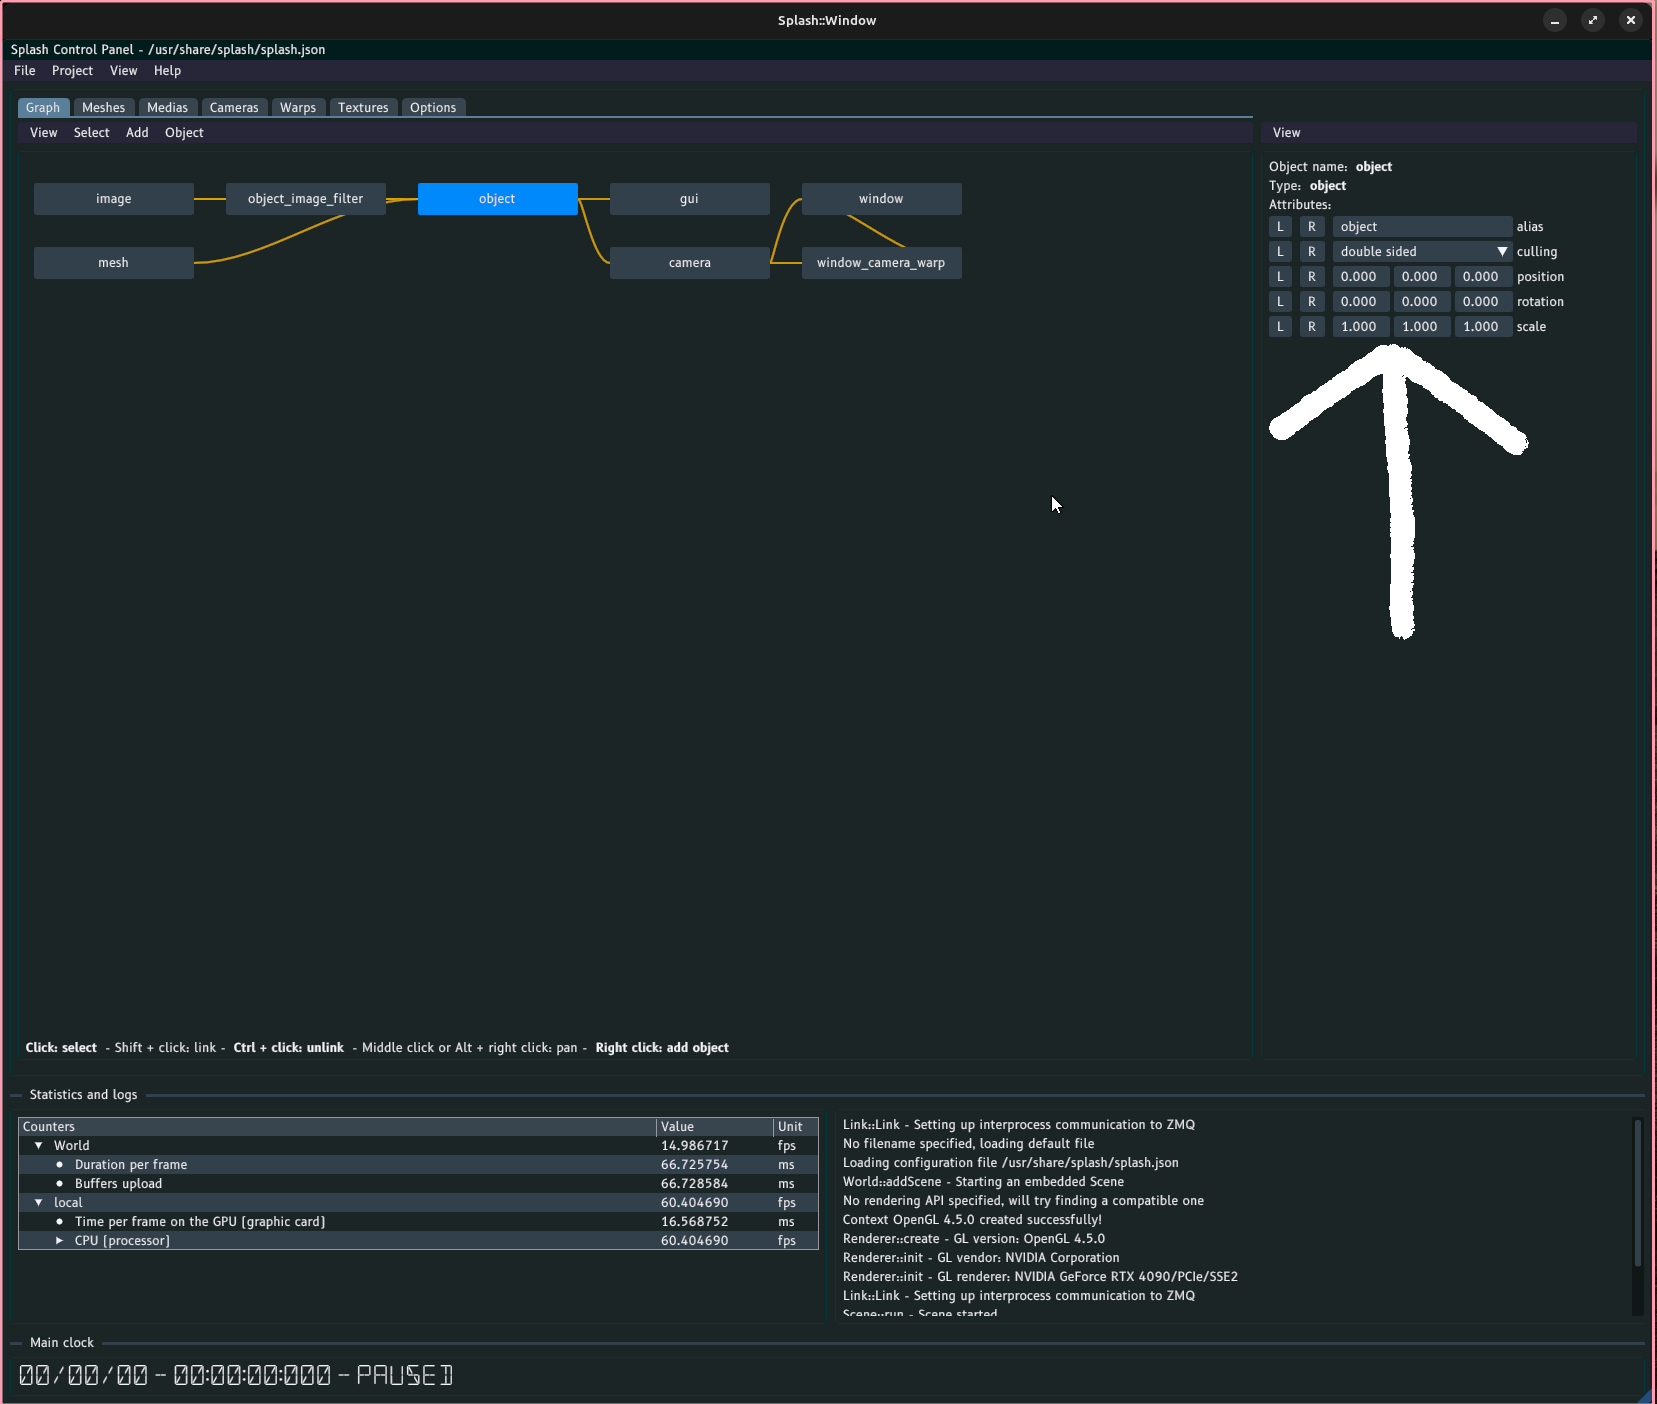
is there an easier way to move a mesh in the program then entering in numbers in to these fields?
Second question, how would I adjust the uv’s on my meshes in the program?
I’m currently working on a lot of cloud shapes, and one of the things I find exciting about splash is thatI can use the mesh’s I made for the CNC file when I got this wood cut, but the video is stretching a bit oddly.
thank you guys so much for making such an amazing program!
Hello @Tronald, and welcome to this forum! Thanks for the kind words too
For your first question, what is your intention? Usually when there is only one object in the configuration, you won’t need to move the object. Instead you would rather move and calibrate the camera (which is the virtual representation of your videoprojector) with respect to your object. This is done in the Camera tabulation. But first you would need to configure the window (especially its fullscreen parameter) correctly, so that it is displayed on the videoprojector output.
Regarding your second question, if you want to map a standard 2D image onto your object you could start with asking Splash to generate the UV coordinates for you. This is done in the Meshes tabulation:
I would advise you to select the Cylindrical projection type, then adjust (lower) the projectorFOV attribute, and adjust the projectionOrientation and projectionCenter.
If it’s not satisfactory, you might be better with a full fledged 3D tools like Blender. If you are not familiar with UV coordinates, you can start here for instance. I would just start with a project from view mapping or something simple like that.
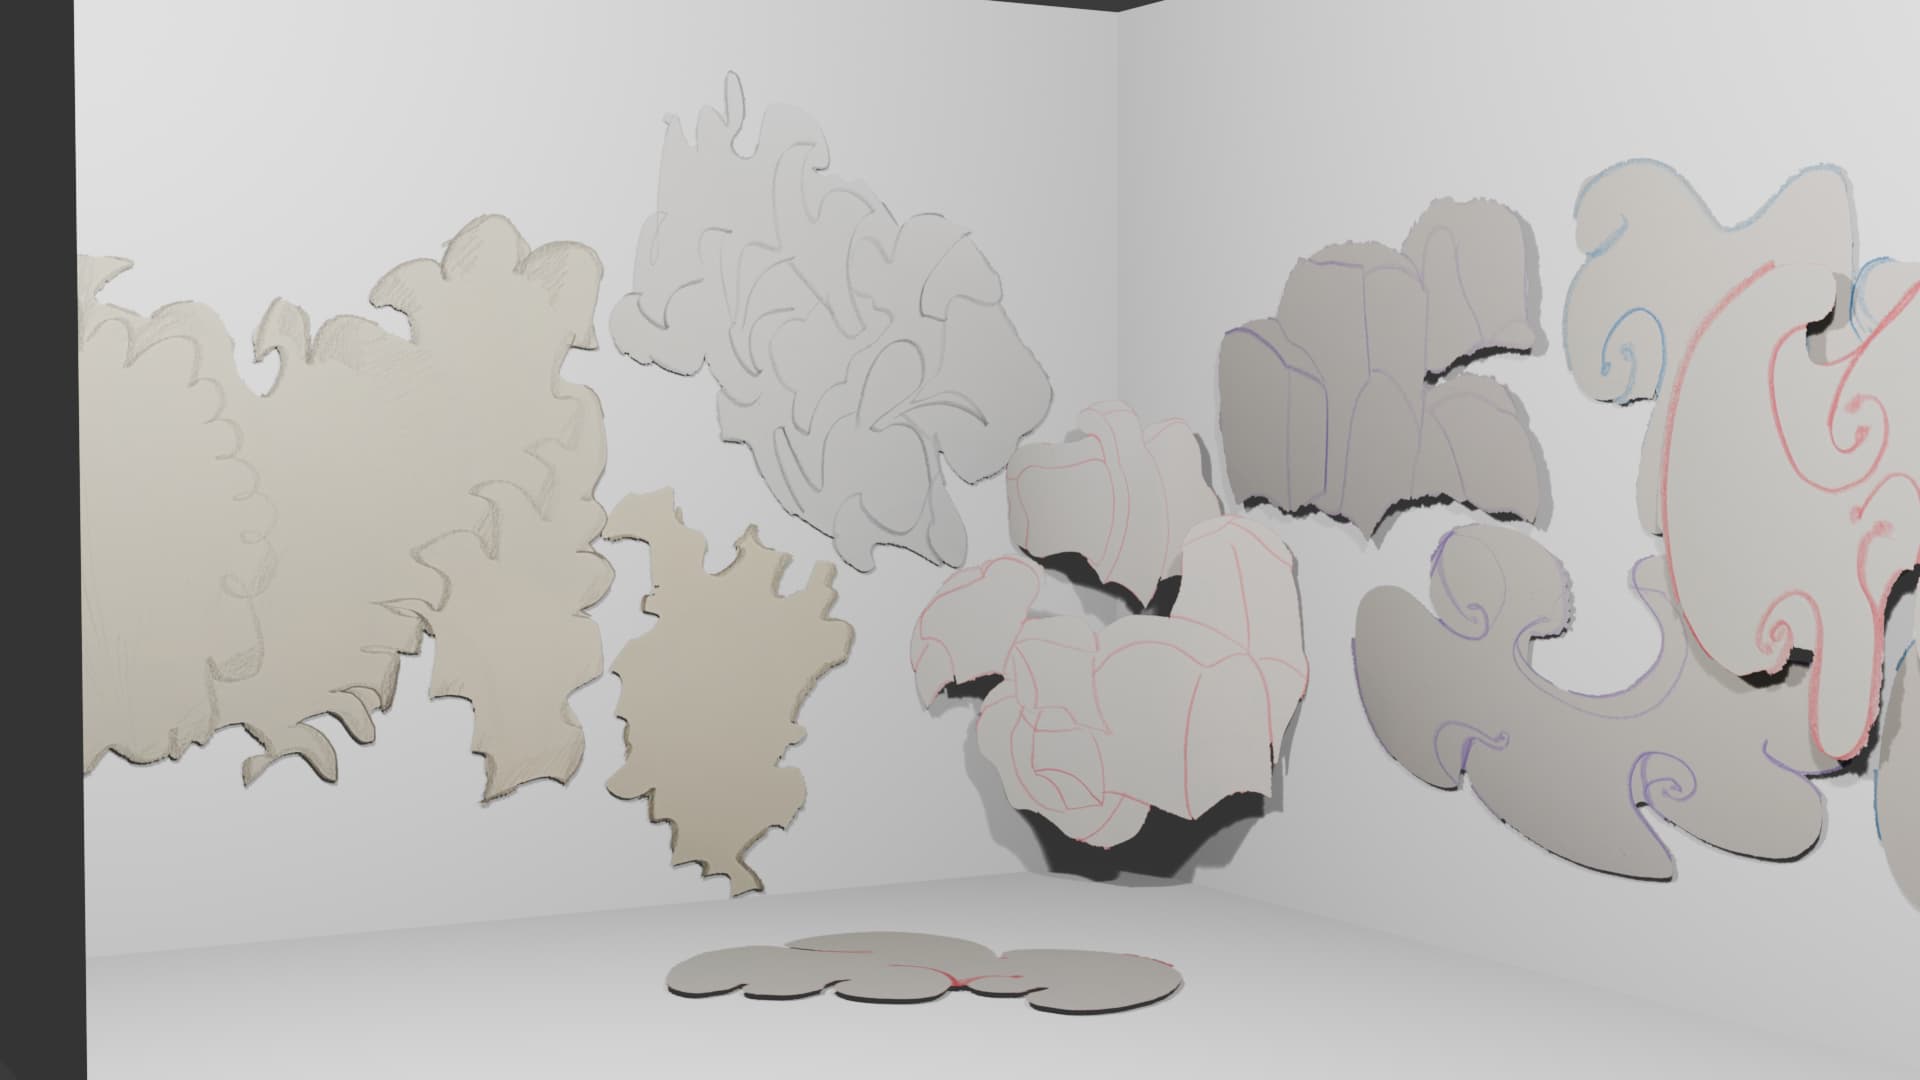
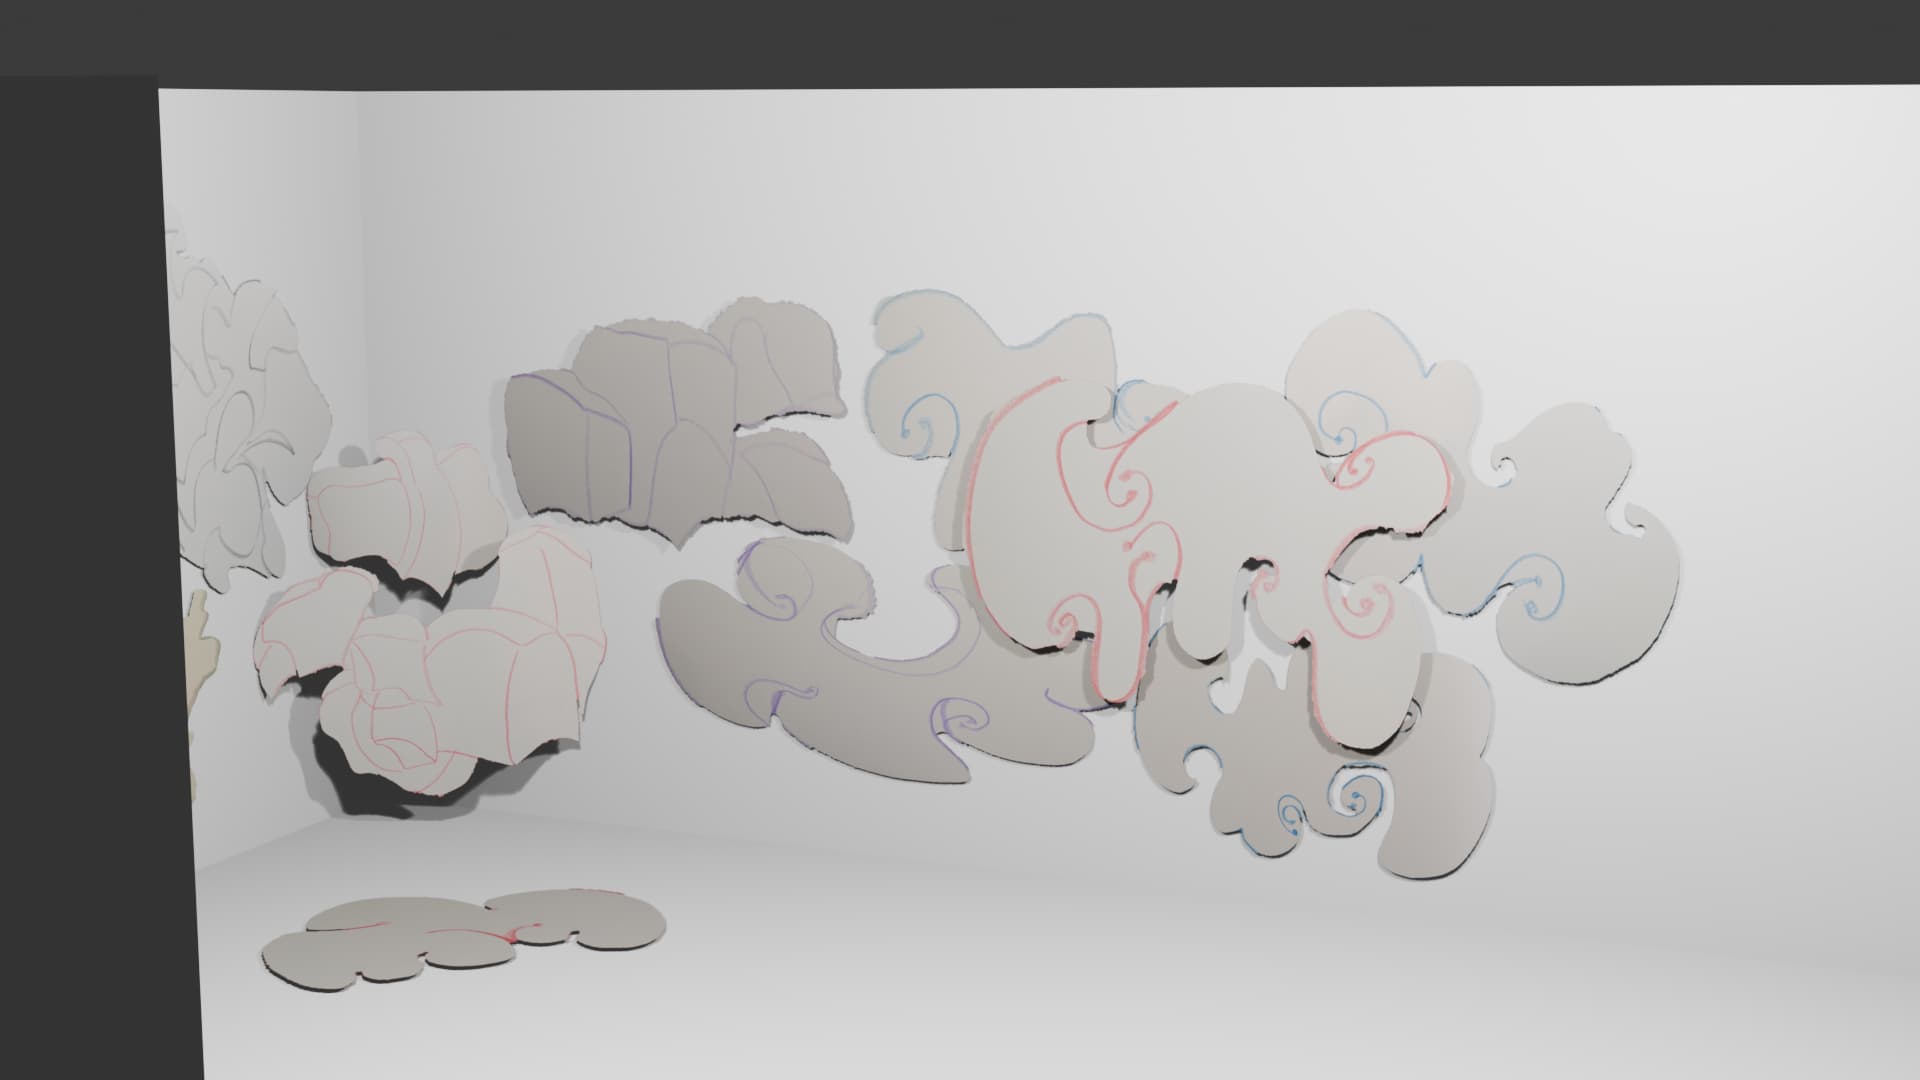
I’m very familiar with blender. the dream would be the the following, this is a mock up I made for my upcoming thesis show(though nothing is set in stone), I would use two projectors in this space. I was thinking of projecting on most of these shapes if not all of them
for scale, the walls are 3.8 meters high
the major problem I have is not with the software though- I only have 5 hours to install unfortunately, and that’s why I was asking about moving the meshes, since I would have multiple videos, and it is a faster way to line things up.
Ah right, this is an interesting use for Splash. As you use two projectors this is definitely a good use case, but the workflow will be somewhat different from what you can find in the tutorials.
As you are already know Blender, I have a suggestion which is based on this Blender addon. To be honest I have not used it for some time and it would benefit from a bit of love, and maybe be integrated within Splash repository at some point. Anyway, let’s consider it works. You will need to build Splash with support for libshmdata
My proposition relies on the fact that your shapes are planar and follow mostly the walls (and the floor?). The workflow would be as follows:
create a 3D model of the typical walls dimensions of your setup, something similar to the default 3D object in Splash but maybe with more specific sizes (and a floor, if needed).
export and calibrate your two projectors with Splash using this 3D model. If possible, use some overlapping between the projectors, and calibrate them using non-coplanar points (i.e 4 points on one wall, 2 on the other) to get a good 3D calibration
Now you have calibrated your system. This is where it can get tricky. For each of your objects:
in Splash:
create a new image (it can be shared between all the objects, if your UV mapping takes that into account, or one image per object)
set the path in the mesh_shmdata node to /tmp/blender_shmdata_mesh_$OBJECT_NAME, with $OBJECT_NAME the name of your object in Blender
the mesh should now be visible in Splash (you might need to edit it a bit in Blender for it to update)
You may also have to Blender un play mode. At this point whatever you do in Blender to the object will be reflected into Splash: editing the mesh, the UV coordinates, moving it around in the 3D space.
The next step is now to place the object close to the walls calibrated previously. You will be able to move the objects in Blender and match them to the real physical objects this way.
Note that all this is written from memory. Some things might not work exactly like that, so do not hesitate to tinker around. And I’m willing to help you with making this work as it is an interesting use case!
And notes to self:
update blender-shmdata addon to use sh4lt instead, which would allow for auto-discovery of the streams
include this addon directly in the Splash repository, as the mesh representation used for sending is very specific, and it would help with keeping things together.